Layers and Masks in Photoshop Elements 2023
Two of the most powerful tools in Photoshop Elements are the layers and masks. They allow you to make non-destructive edits to your image (in other words, you can try out changes without affecting your original image!).
I was concerned if I just started having you use layers and masks it would be
confusing. So, I decided to do a post explaining the basics of layers and
masks. This may not make much sense as you read it, but I’m hoping it will make
following directions in future posts easier.
Layers
One way to think about layers is imagine your original image
(background layer) is a piece of paper at the bottom of a pile of papers. Each
additional layer is another piece of paper that has instructions on how you
want your final image to look. You can change the information on a layer at any
time, you can delete a layer, you can rearrange the layers – all without
changing your original image. When you have things the way you want them, just
flatten the layers into the background layer for the changes to go into effect
and save your new file.
Once you flatten your image – you can’t go back and adjust the changes you made
during your editing process. If you think you may want to go back to your
editing process, save your file as a Photoshop File (.PSD) rather than as a
JPG.
You can see what layers you have in your file by looking at
the layers panel on the right-hand side of your Photoshop Elements work area.
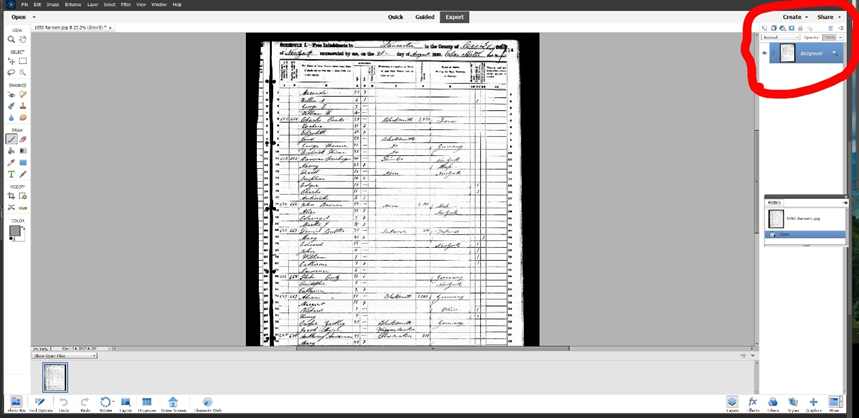
Across the top of the layers panel are several icons – from left to right they are:
- Create a new layer (looks like a piece of paper with a folded corner)
- Create a new group (looks like a stack of papers)
- Create a new fill or adjustment layer (looks like an iced chocolate and vanilla cookie) – has a dropdown arrow
- Add a layer make (rectangle with a circle in the middle)
- Lock all pixels (looks like a padlock)
- Lock transparent pixels (looks like a padlock in front of a square with a circle)
- Delete Layer (looks like a trash can)
- Additional layer options (looks like four horizontal lines) – has a dropdown arrow
Masks
A mask is a supplement to a layer that determines which part
of your layer takes effect. The most important thing to remember is.
WHITE REVEALS – BLACK CONCEALS
In any area of your mask that is white – the changes in your
layer will affect your final image. Anywhere it is black – no effect.
A layer mask appears to the right of a layer icon in the
layers panel. It usually shows up as a white rectangle (but it can show up as a
black rectangle). To change from a white mask to a black mask, or vice versa –
click on the mask and invert it (CTRL I).

The above layer is all white so the entire image will have
whatever changes the layer makes.

In this example, the changes would affect everything except
where the black lines are.

In this example – only the areas in white would be affected.
The areas covered by the black section of the mask would be unchanged.


Comments
Post a Comment